Please follow these steps to setup your new custom email address
1) Have you received a confirmation with your "Email Hosting Account Details"? If yes, please continue to step 2
2) Please login to your SafetyNames.com account
3) In the middle of the screen, please click on Services
4) Please select on your new Email Package
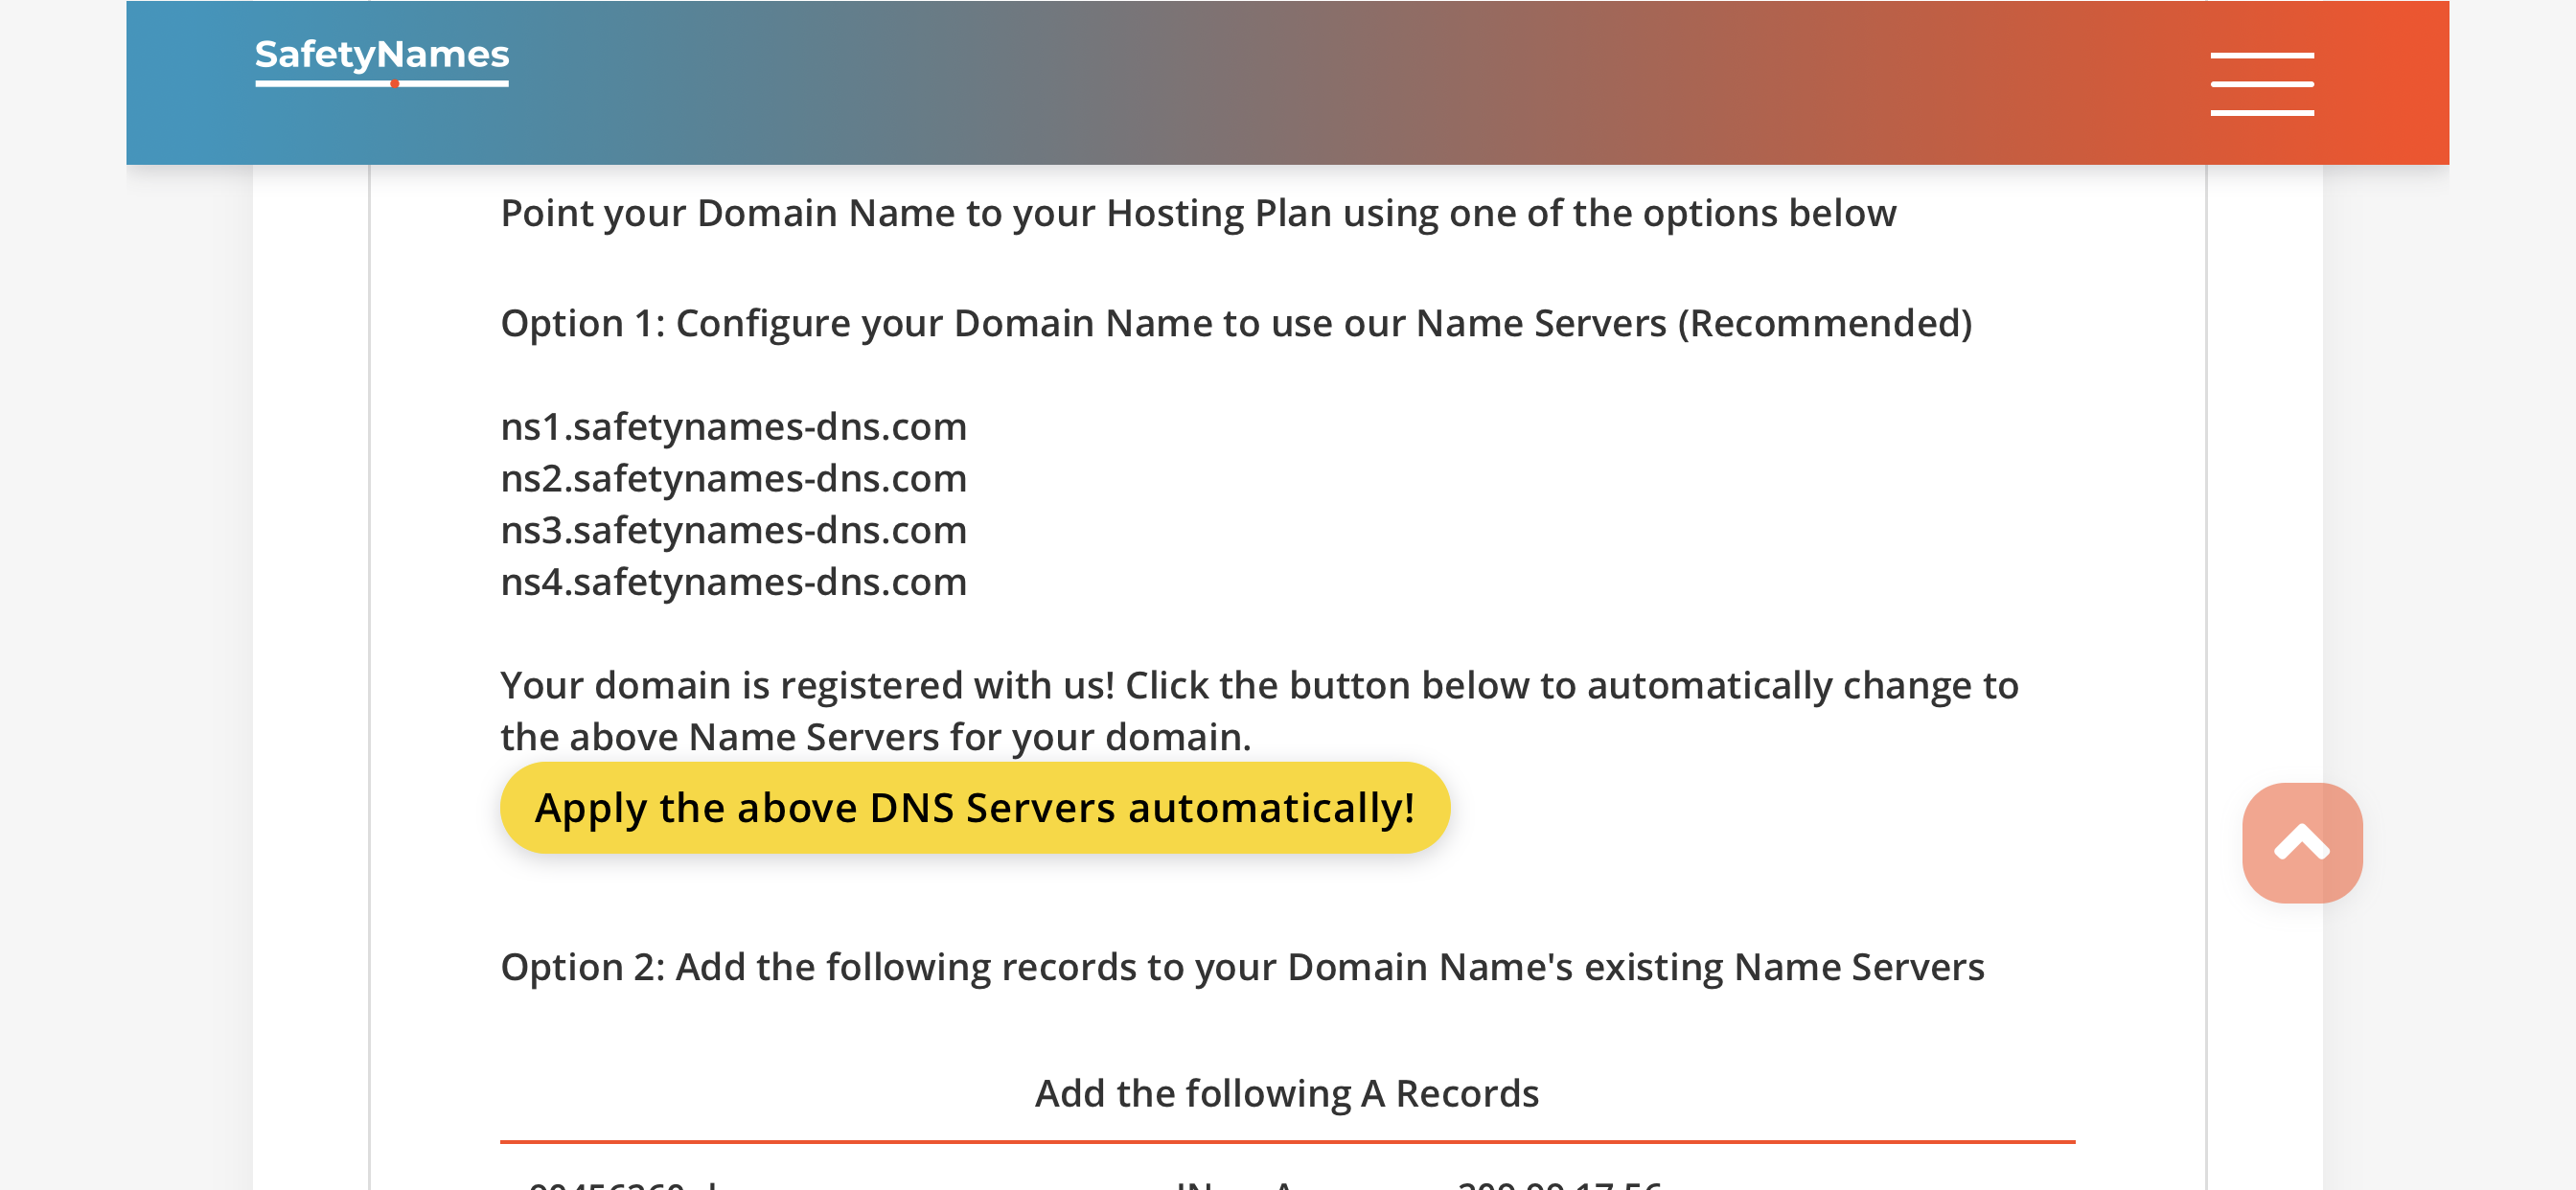
5) Scroll down to the yellow box to Apply the above DNS Servers Automatically
Alternatively, you can add the DNS records on the webpage to your current nameservers that you are using (this is for experienced users)
Please allow up to 72 hours for the DNS to propogate (most times it propogates in under 1 hour, but DNS propogation can take longer)
6) Please scroll to Hosting Management Dashboard and review Create Email Account section
7) Enter the email address you would like to have such as [email protected], enter your first name, last name and a backup email address such as your Gmail email or the email address you setup your SafetyNames account with.
8) Click Setup Email Account and you will receive a confirmation email that your email address has been setup and you can login to your email at webmail.YourDomainName.com
FINISHED
Alternatively, you can email [email protected] and we can take care of the setup for you. Please feel free to reach out to us anytime, if you have any questions.